WordPress hosting is in the middle of a transformation. Over the past five years new migration techniques have made it much easier and cheaper to move complex websites, allowing site owners to transfer their entire WordPress installations with much less uncertainty than before. Website owners are keen to put these capabilities to good use. One ambitious proposal is the complete platform migration, a comprehensive process to transfer all the site's components—that is, all themes, plugins, content and so forth. This would help developers maintain site functionality, monitor how designs perform on new servers, and explore hosting environments for useful features, such as responsive WordPress design capabilities.
How to Transfer Your Existing WordPress Site to Bluehost
Moving your WordPress site to a new hosting provider might seem intimidating, but Bluehost has streamlined the process to make it accessible for users of all technical levels. Whether you're looking for better performance, improved customer support, or more competitive pricing, transferring your site can breathe new life into your online presence. The key is following a systematic approach that ensures no data gets left behind and your site continues to function perfectly on the new server.
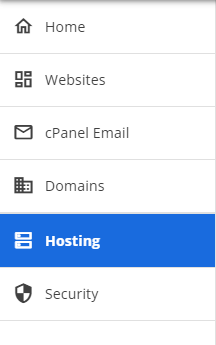
- Click the Hosting tab from the left navigation menu.
- Click the ADD SITE button.
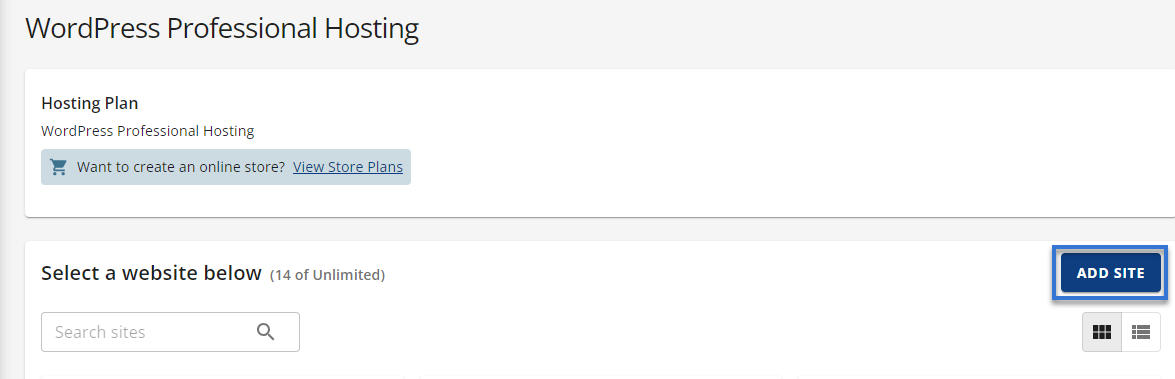
- Under the Add Site section, follow the steps below:
- Click the Transfer an existing WordPress option.
- Click the CONTINUE button.
- The system will prepare your account for the transfer process.
Wait until you see the prompt that your account is ready to start the
transfer.
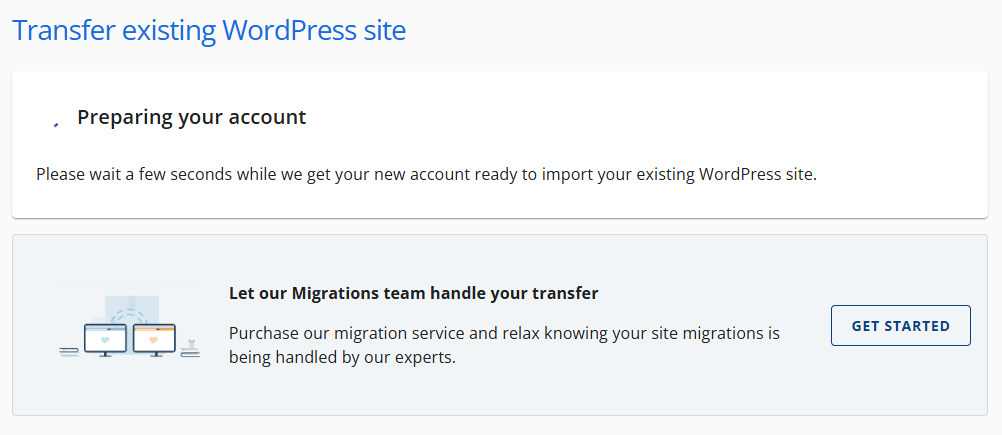
- Once ready, hit the START TRANSFER button.

- Connect and install the Insta WP Migration plugin.
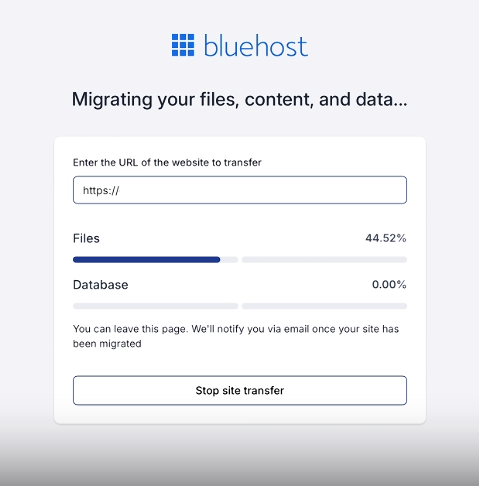
- Enter the URL of the website to transfer in the https://source.mysite.com text field.
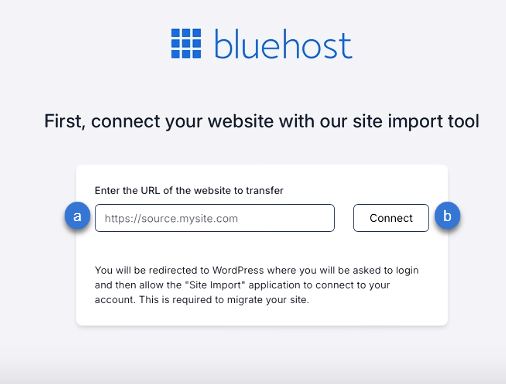
- Click the Connect button.
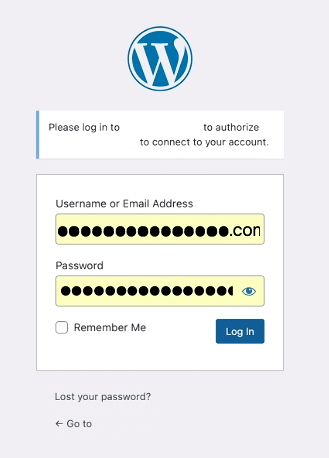
- Log in to the existing website you wish to authorize and migrate to your account.
- Enter the Username/Email Address.
- Enter the Password.
- Click the Log in button.
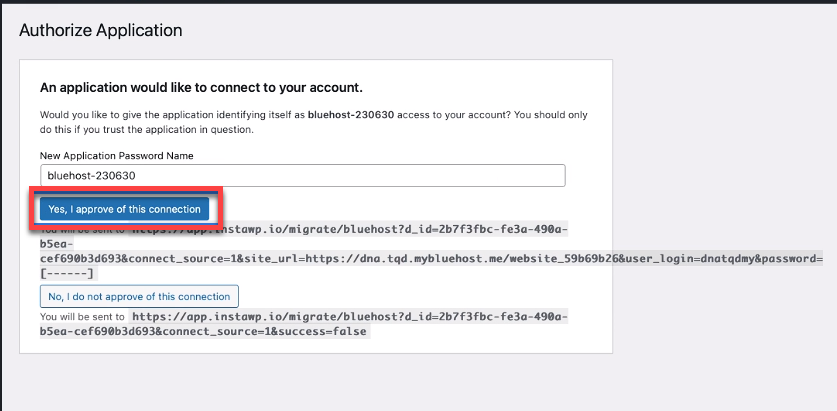
- Once logged in, click the Yes, I approve of this connection button.
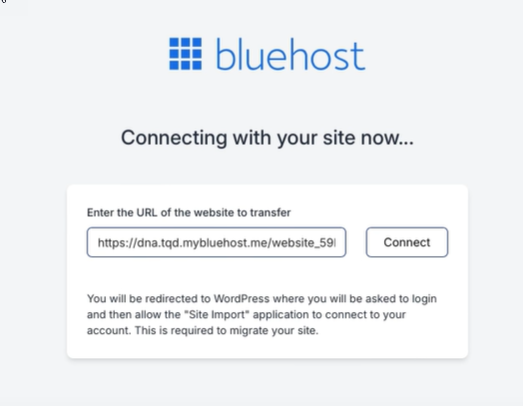
- Enter the URL of the website to transfer in the https://source.mysite.com text field.
- Once the Insta WP Migration Plugin has been connected and installed, the AI tool will copy the files, content, and databases.
Once the migration is complete, you will see the Your migration is complete prompt.
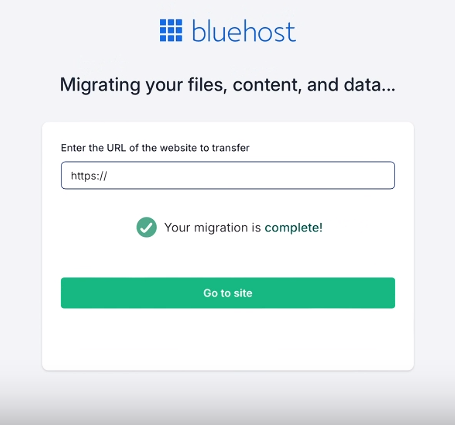
- Lastly, click the Go to site button.
What should I check after transferring my WordPress site to Bluehost?
After transferring your WordPress site to Bluehost, conduct comprehensive testing to ensure everything functions correctly. Begin by checking that all pages load properly and that images display without issues. Test your contact forms, comment sections, and any interactive elements to confirm they work as expected. Verify that your permalinks structure remains intact and that no broken links have appeared during the migration process.
Examine your website's performance on the new hosting environment. Monitor loading times and server response rates to ensure your site performs optimally. Check that all WordPress tooltips and interactive elements function correctly. Review your website's security settings and consider implementing additional protection measures to safeguard your newly transferred site.
How long does a WordPress transfer to Bluehost typically take?
The duration of a WordPress transfer to Bluehost depends on several factors, including your website's size and complexity. A simple blog with minimal content might transfer in under an hour, while larger e-commerce sites with extensive databases and media libraries could take several hours. The actual file transfer represents only part of the process—DNS propagation adds additional time before your site becomes fully accessible to all visitors.
Technical expertise significantly impacts transfer timing. Users familiar with modern web design trends and WordPress administration typically complete transfers more quickly. Those less experienced might need additional time to troubleshoot issues. Planning for potential challenges and allocating sufficient time for testing can prevent rushed decisions that might compromise your site's functionality.
| Website Type | Estimated Transfer Time | Key Considerations |
|---|---|---|
| Simple Blog | 1-2 hours | Basic content, minimal plugins |
| Business Website | 2-4 hours | Custom themes, moderate plugins |
| E-commerce Store | 4-8 hours | Product databases, transaction systems |
| Membership Site | 3-6 hours | User databases, protected content |
Can I transfer my WordPress site to Bluehost myself?
Yes, most WordPress users can transfer their sites to Bluehost independently using the platform's migration tools or manual methods. Bluehost provides detailed documentation and customer support to guide you through the process. The key requirements include basic technical comfort with WordPress administration and the ability to follow step-by-step instructions carefully. Many users find the process straightforward once they understand the fundamental steps involved.
However, complex websites with custom configurations might benefit from professional assistance. If your site includes complex administrative features or specialized functionality, consider the value of your time versus hiring experts. For those who proceed independently, creating comprehensive backups before beginning cannot be overemphasized—this safety net protects your data throughout the transfer process.
What security measures should I take after transferring to Bluehost?
After completing your WordPress transfer to Bluehost, implementing robust security measures becomes essential. Begin by updating all passwords, including your WordPress admin, database, and FTP credentials. Install a reliable security plugin and configure it to monitor for suspicious activity. Regularly update your WordPress core, themes, and plugins to patch known vulnerabilities that attackers might exploit.
Consider implementing additional security layers such as two-factor authentication and regular WordPress vulnerability scanning procedures. These measures help identify potential security gaps before they can be exploited. Monitor your site's activity logs regularly and set up alerts for unusual behavior. Remember that consistent security maintenance provides far better protection than occasional intensive security reviews.
How can I optimize my WordPress site's performance on Bluehost?
Optimizing your WordPress site's performance on Bluehost begins with implementing caching solutions. Bluehost offers various caching options, including server-level caching and WordPress-specific caching plugins. Combine these with image optimization, CSS and JavaScript minification, and content delivery network (CDN) integration to significantly improve loading times. These improvements enhance user experience and can positively impact your search engine rankings.
Regular performance monitoring helps identify areas needing improvement. Use tools like Google PageSpeed Insights to measure your site's performance and receive specific recommendations. Pay particular attention to WordPress admin bar customization and other front-end elements that might impact loading times. Database optimization and regular cleanup of unnecessary files also contribute to maintaining optimal performance over time.
Professional WordPress Services at WPutopia
If you found this guide helpful but prefer professional assistance with your WordPress needs, WPutopia offers comprehensive WordPress services tailored to your requirements. Our team specializes in WordPress maintenance, theme upgrades, plugin installation, and complete site migrations. We handle the technical details so you can focus on your content and business goals. Whether you need help with a one-time project or ongoing website management, our experienced developers ensure your WordPress site performs optimally and remains secure. Contact us today to discuss how we can help enhance your WordPress experience.


